Showing posts with label Kitchen. Show all posts

Saturday, March 5, 2011

Pictures on the wall!

I believe I have mentioned this before, but it takes me quite some time to figure out what room I want pictures to be hung, and then where! Well, today I decided it was time to stop thinking and start doing! (I tend to over think these things when really I can change them whenever with a little work - probably less work than it's been taking to put them up in the first place!)

Well, a couple weeks ago I took a survey of where I should hang pictures in our kitchen, and today we finally managed to get them hung. So here's the finished product! (Looks a lot better without us standing in the way of the pictures hehe.)

The vertical votes won, and I agreed - it just went better with the rest of the kitchen layout.
Not today, but we also hung some pictures in our dining room that we had for several months and were just waiting to find a hutch to match our oak table. Well, thanks to craigs list, we did indeed find one that was reasonably priced, matched, and just the right size for what we needed!


After we got it put back together (hutch separates from buffet) and got our dishes in there, we decided to complete the room with these fun pictures from Kohls! You can't exactly tell in this picture, but the grays in the paintings matched perfectly with the dining and kitchen gray colors. Woohoo! Definitely better than boxes and college wire stackable cabinets! ;)

Now if only I could get the other rooms in order! Hopefully we'll be having some trim work done in our family room soon so then we can move all the furniture in, and finally get "fully" settled into our rooms. Happy Saturday!

Sunday, January 16, 2011

Starting to Decorate - Finally!

So I have a confession to make - I'm a little bit obsessive when it comes to order (this is probably no surprise to those that know me well). We have been in the house for about six months now, and I just had Robbie hang up the first pictures on a wall last week. I guess it had something to do with the fact that I didn't want a bunch of holes in my walls if they weren't going to stay there for awhile, but this can also lead to (a LOT) of indecision about where to hang things.

Another aspect to the lack of permanent decorations is that we're still planning to completely move the living room furniture into the family room after it's done, so we're really not sure where everything's going to end up. I should probably just acknowledge the fact that pretty much anything can be fixed with putty and paint, but that would be too easy...  ;)

So I was finally going to jump into it for Christmas decorations and put some stuff on the walls, but I then decided that this year I'd just utilize the nails in the doors and hang stuff there until I really decided what to do with everything.

In light of all that, you'll now understand why I need your help on this very big, important decision  ;)  - Which way should I hang these pictures?!


Technically, they can be hung either way - there is no "right" or "wrong" way as far as the pattern goes. But I'm not quite sure which way looks better with the rest of the kitchen & bar area. For example, if they are hung horizontally (above), will they clash or come too close to the bar light fixtures (also red)?


But if they are hung vertically, does it seem unbalanced on the wall, being so much on the right and not anything on the left?

So you see my dilemma :) - now please help! Leave me a comment and let me know what you think is the best way, if it doesn't matter, or if you think I'm crazy! Thanks!

Thursday, December 9, 2010

Breaking in the Kitchen!

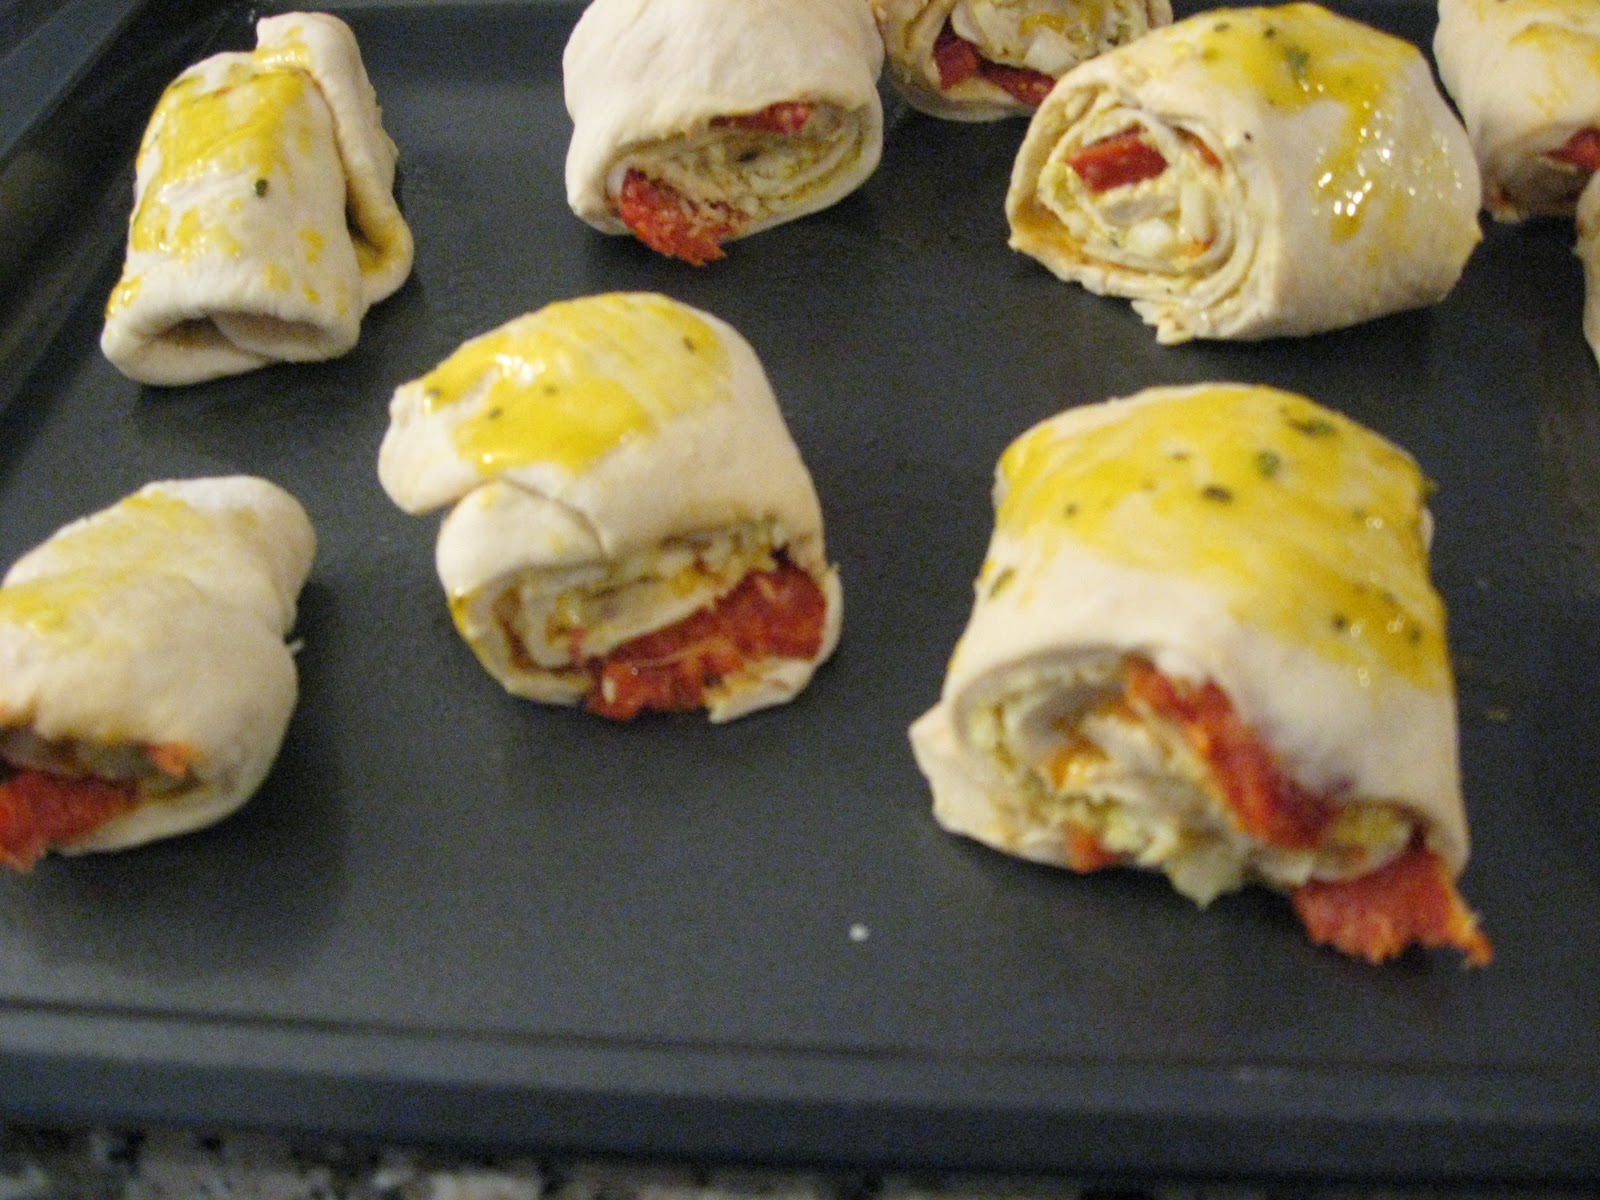
Jennifer went out and bought me some goat cheese. It is the only cheese I can have since I am lactose intolerant. It is a major curse. Trust me on that. A few months back, well weeks, my mom gave me our beloved recipe for Pepperoni Rolls. (I am telling you these things are great.)


So here is the deal: you need white bread dough, olive oil and egg yolk and some seasonings. Once you roll the dough out, you need to baste the egg mixture on the dough. Then throw down some meat, cheese, and whatever else you want. Throw them in the oven for 25-30 minutes. And they are lovely.


This is what they look like before the oven.


These are the finished product.


This was the first thing that either of us made in the newly revamped kitchen. It was great. I loved having a bar that I did not have to bend over on. That is one bad thing about average height countertops. 

(post by Robbie if you did not notice)

Monday, December 6, 2010

We've got Water!

The day we got our countertop was a momentous day indeed. Not only because the countertop was the last major part of the kitchen we were waiting for, but also because we were able to get a plumber to come and reconnect everything! We finally had water in the kitchen again!


For some people, this might seem like a small thing - but for us, it was huge! The main reason being that we no longer had to handwash our dishes! I had a dishwasher in the house for about 2 months by this time, but hadn't been able to use it until the water was connected.


So the next three days I went through a washing frenzy and put everything we owned through the dishwasher. Stuff that had been sitting in boxes since we moved was now clean and sitting where it was supposed to be - in the cabinets.


We also got a very nice sink and faucet to match everything, and even managed to get our old garbage dispenser hooked up again. The only hiccup was that my dear husband accidentally threw out the connector with the old sink! Thankfully the plumber had an extra connector and we were indeed able to get water again. Running water has never been better, now that it's in our kitchen!

Tuesday, November 30, 2010

The End is Near! (Countertop Installation)

Finally we are coming very very close to being done with our kitchen! The last BIG piece to this project was getting our countertop installed and getting water back in the main floor! Below are the steps in the process as they assembled the different pieces to pull it all together!


The main countertop area came in two pieces - one short one (above) and a longer one with the sink cutout (below). They had to take the cabinet faces off to properly set the granite tops on.


Below you can see the (easiest) part of the job, since there was no backsplash to attach - and some more of the woodworking done to make the new half wall nice and even with the cabinets.


Finally - the most important part - the sink!!!! The piece we had been waiting and waiting and waiting for!  :)   (The backsplash was also put on by this time)


(Looks are deceiving though - the water isn't hooked up quite yet - that comes with the plumber!)


Finally, our kitchen is nearly complete!! With countertops, we could really get everything back into the kitchen area without worrying about everything getting dusty and dirty anymore. Still need to add some finishing touches (move the fridge back in, hang some lights, finish electrical outlet work, etc.) - but the biggest piece was done!

Tuesday, November 23, 2010

Moving in to the Kitchen - Getting Excited!

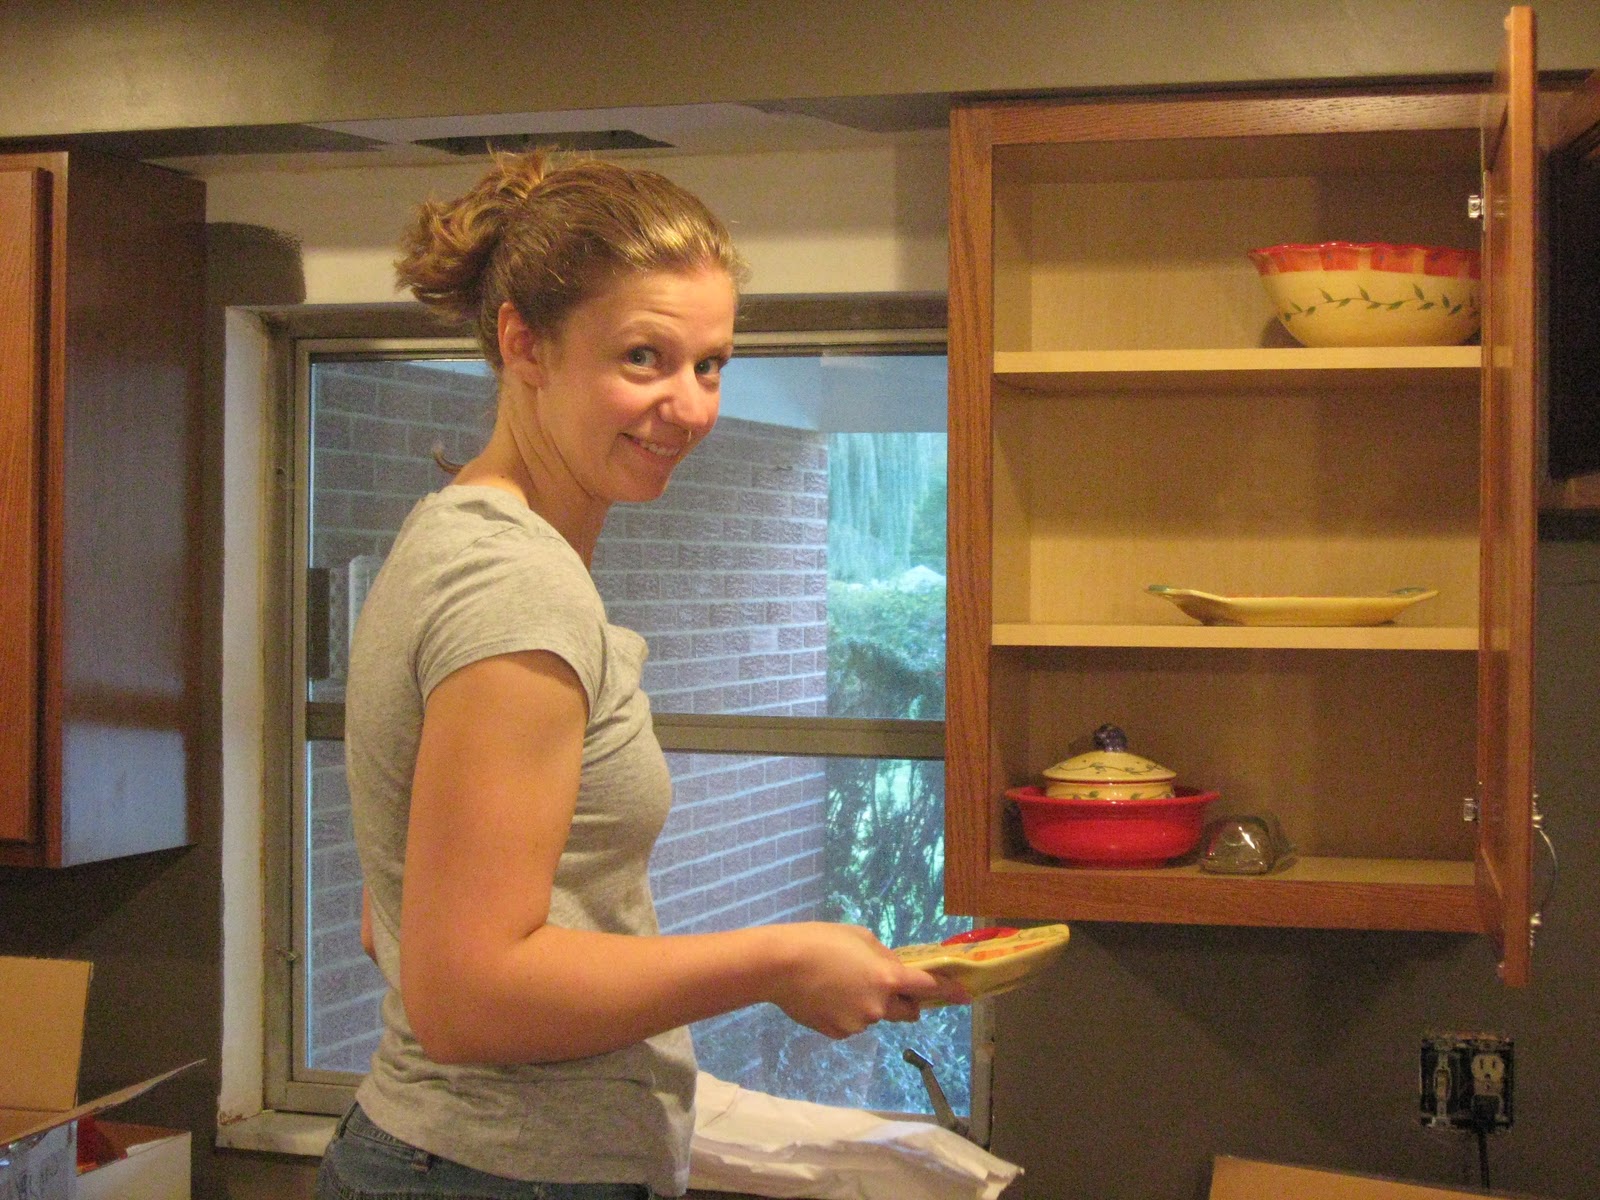
Now that we had all of our cabinets in, I decided that it was finally time to get the kitchen stuff back into the kitchen!! (Previously, it was in the dining, living and family rooms - some in boxes, some in crates from college!)

Since we moved all of the stuff out of the kitchen in August, this was huge (for me at least)! Figuring out where everything would go, trying to determine how I would use the space and cabinets...


...unpacking dishes that hadn't been used since before we moved...


...finding places for all that stuff that gets used, but not that often...


...and, of course - stashing food in the pantry! My favorite part are the roll-out tray on the bottom part of the pantry - space for everything, and I don't have to pull everything out to get to that item at the back!


Finally lots of boxes were unpacked, kitchen utensils and appliances were found (another reason it's hard to do much when you're living out of boxes in the kitchen), and space was created in other rooms. We took all of the flattened boxes (acting as paint and dust protectors) off the floors, polished the wood floors that were covered in plastering dust, and moved the dining room table out of the living room and back into the dining room!

It was a little weird at first not to be eating in the living room (as that was the main area everything was located during the remodeling), but finally things were coming together, and our kitchen felt more like a kitchen. Only 2 weeks to wait for a countertop (and water)!!!

Sunday, November 21, 2010

Kitchen Remodel - Almost Done!

After another month of waiting, our cabinet installer came back to finish the project that they started. With most of our cabinets in and ready to go, they brought back the right size pantry cabinet, worked on the bar wrap around, and installed our microwave over the stove. We were very pleased to finally have the cabinets all in, and amazed by the difference the pantry made in looking like a kitchen!

Below are the semi-finished products after our installer left!


Now that our cabinets were all in place where they should be, we called the countertop people to come and measure / template for our countertop. With time escaping us and November fast approaching, we knew we needed to get things rolling if we were going to have people over for Thanksgiving.

Thankfully they were able to come the next week to measure (way cool to see - all kinds of software and advanced tools to create a virtual replica of our kitchen measurements), and I was able to go the next couple of days to see the granite slab. We didn't want to slow down the process, but our designer kept telling us that we should go see it in case it wasn't the same as in the store. Here I thought that we'd be picking one from several slabs in our pattern of choice.

So I had to arrange work to leave early, travel an hour away to the granite site, and once I got there to view the slab, realized that I really didn't need to come out. I took one look at the only slab of granite they had in our color choice, said it looked good, and went back on my way! Here, I guess if you don't like the color choice they have, you have to pick another color (which also impacts the price!). I guess at least my concerns were put to ease.

So then we began the last part of our waiting - waiting for the countertop to come in and be installed (along with water!) in our kitchen!

Monday, November 15, 2010

Kitchen Bar (Redesign)

When the 2nd day of installation was done, we realized that there was a miscommunication between our designer and us. We're certain that we explained we wanted the cabinets to be at 40 inches above the floor, where the wall was currently cut, but when they were installed, they sat a good 4 inches below the wall height. So we had a couple of options:

  1. Keep the cabinets at the height they were at, and install the countertop lower than we originally intended (normal counter height). This also would involve cutting the wall down more.
  2. Keep the cabinets at the height they were at, and have the countertop be two-tiered (i.e. a lower and upper countertop - one on the cabinets, one on the wall)
  3. Order new cabinets at the correct height and lose the ones already installed (lose as in lose the money paid for the cabinets, as they won't take them back).
  4. Take the cabinets off the wall and have the installer build up underneath them so there is a taller toe kick. 
None of those options were very appealing to us, so we talked with our expert carpenter friend, who gave us this idea:
  • Build on top of the current cabinets to raise the counter height to the wall height, and create a wrap around the wall to ensure the height is even all the way around.

Perfect! This, in our minds, was actually better than the original idea of having cabinets all the way to the bottom of the counter, because it would be easier to get into the cabinets with an overhang above it.

So while we waited another month for our pantry, we also had them order two 1x8 pieces of lumber to match the cabinets so they could construct the build up. (Lucky you don't have to wait a month for the conclusion to this post!)

In the meantime, we managed to finish painting the kitchen and dining room in new colors - warm stone (brownish gray) for the kitchen cabinet area and backside of the bar, and agreeable gray (light gray) for the dining room and part of the kitchen wall that was shared with the dining room.

Finally, the day arrived, and the installer came back on a Friday afternoon to put in our pantry and build up our bar. Below is the finished project of the bar area.


They had to take off the countertop supports and move them up to meet the build up, but they did such a great job that you can't even tell it wasn't like this in the first place!


So with this key component of the kitchen done, we were ready to move onto the countertop (mostly) ! We still needed to do some cleanup and putting stuff back together before then (you might notice the outlets and vents exposed, and the fact that our fridge is still in the living room!).

Friday, November 12, 2010

Cabinet Installation - Day 2!

Our installers came back the 2nd day to finish as much as they could at that time. Unfortunately what we found out was that we had the wrong size pantry, so we had to order another size - which also means that we had to wait another 3+ weeks for it to come in. We also did not have our over the range microwave yet because it was out of stock all over pittsburgh, so the installer was going to come back later to do the finishing work.

So they basically were able to finish the cabinetry work that they had left (some cabinets on the wall between the kitchen & dining room) and install our gas range and dishwasher that were just delivered the day before! Since the gas line was moved, the stove worked (yay! we can cook!), but because the water wasn't hooked up, we couldn't use the dishwasher.
Our gas stove came from Sears, and has 5 burners (one extra in the middle) - something I hadn't seen before :)

Our dishwasher also came from Sears, which we found & decided on through Consumer Reports
One of the last things the installers did before they left for the day was put on our cabinet hardware. I had to come home over my lunch break because they told me that there were different "placements" of the handles and I had to decide where to put them. I'm thinking, "Can it really be that difficult?" And it did seem kind of silly, but I guess they didn't want to be liable for me not liking it when they were done. Below are the doors with the handles installed, and the glass door put on the corner cabinet.


 Now it was time to wait and wait and wait until our pantry came in, and because of that and the cabinets over the bar area not being quite how we wanted them, we couldn't have the countertop people come yet. So the kitchen got put on hold for a little while and we continued to eat off of paper and plastic! :)

Sunday, November 7, 2010

The Cabinets are Here! Installation - Day 1

We ordered the cabinets towards the end of July, and they came in around the middle of August, but because we still had some work to do on the floor and walls, we had delayed the installation until the end of August. But the cabinets were delivered to our house, so we lost half of the garage to all the cabinets (plus some of the old ones we still had around).

Finally, the day was here and it was time for our installer to give us some storage space back in our kitchen, and make it look a little more like a kitchen! They set up shop on our back porch and went to town cutting and fitting everything so that it was just right. As you can see below, they did the top part of the cabinets first before moving to the bottom ones.


These pictures were taken at lunchtime on day 1 of cabinet installation. You can see that we chose a darker oak wood, with partial overlay doors. The cabinet in the corner will get a glass door frame.


We had to repair the drywall / plaster above the window where the old light receptacle was, so we didn't get a chance to paint it before the cabinets were installed. We're also hoping to replace that window (and a couple other broken ones around the house) before winter comes, so we didn't worry too much about it being completely finished.


By the end of the first day, they had the bottom cabinets in, the doors on, and moved the gas line for our stove. They had to move the gas line about a foot since we slightly changed the layout, so they were drilling holes through our garage and the tile to do that, but in the end it looked great!

I didn't get pictures at the end of the day, so you'll just have to use your imagination and wait to see the finished product...coming soon!

Tuesday, October 26, 2010

Final Preparations for Kitchen Cabinet Install

So remember that we originally thought we'd have the kitchen done in a couple weeks? Well, obviously that didn't happen. Things take longer than you think, and there are also things that pop up that you don't expect, don't even know about! And since this was (obviously) our first time doing anything like this, we really didn't know what to expect. So here was one of the original ideas on the project:

  1. Order cabinets
  2. Demolition (wall, cabinets, countertop, ceiling, etc.)
  3. Paint
  4. Install the subfloor and tile floor
  5. Install the cabinets
  6. Install the countertop
All ready to go in about a month, right?!  :)

Well, we didn't take into consideration the electrical work that needed to be done and redone, and we didn't anticipate how big a project the ceiling and wall rebuilding would be (i.e. after you remove what you don't want, how do you get it back to looking like something you do want!?).

So when we took everything out of the kitchen, this is basically what we were left with:


The dirty white areas are just drywall behind the cabinets, no big deal since we were planning to paint everything. But the yellow brown areas are 55 year old glue that held the "backsplash" onto the wall for so many years. That had to be scraped off and plastered over in many cases to get it looking like something you'd want to paint.

Thanks so much to our friend who is a plastering genius, he spent many afternoons and evenings working and helping us get our walls and ceilings back in order. Plaster, dry, sand, repeat. (This also made for a very messy workspace - but at least we tried to contain it to the kitchen and dining room with plastic coverings for the entry points.)

Finally, the walls were ready to get painted, and just in time - only the night before our cabinet installer arrived. Since this was now the first week of school and volleyball was in full swing, Robbie and Mom went at it while I was at practice one night. This is what I came home to find!


Maybe you're thinking - this looks a little odd, and it did - but we tried to focus just on the areas that would be exposed versus those areas that would be covered by cabinets.


We went with our designer friend's suggestion of doing two tones of grey in the kitchen, to help blend the dining room into the kitchen. The lighter gray color would run from the dining room into the kitchen where the bar area would be, and the darker gray color would be mostly on the "L" shape of the kitchen where the cabinets were. Above you can see that at the time we only focused on the kitchen area to paint before the cabinets were installed. Later we had to go back and do the dining room area.


And of course painting is fun! You may not be able to tell really well, but the darker gray was a brownish gray (called Warm Stone) and the lighter gray had more of your traditional black with white mix. It's amazing how a fresh coat of paint can change the feel of a room! And barely did the paint have a chance to dry before it was time to install the cabinets!

Friday, October 22, 2010

Time is running out!

Originally, our idea was that we would take 2 weeks to gut the kitchen. Then, once we moved in and got started, figured we could at least have it done before school started. Now we're hoping (and praying) it will be done before Thanksgiving (and maybe Christmas!).

Obviously, we weren't very experienced with estimating how much time things would take, but we also didn't take into account that most of the time, there's SOMETHING that doesn't work out the way you expected it to. Then throw school and coaching into the mix and you have -- nearly zero time to do anything on the house!

Right around this point in the renovating process (mid-August), we realized we weren't going to be able to do as much as we wanted to ourselves. So after we had our electric problems fixed, there wasn't time for us to take care of the floor ourselves before school started.

One of our friends mentioned an online service they used for projects around the house - service magic - and so we tried it out. You put your "service needed" out for grabs and then get calls back from local vendors who are willing to take the project on and give you an estimate. We found a contractor who was able to do everything we wanted and more, and was able to start almost immediately.

In about 16 hours (spread over 3 days), he was able to tear up our old floor, lay the subfloor, tile & grout! Yahoo! Part 2 of our renovations complete! See some pictures of the masterpiece below!


After the grout had cured for a day, we got my whole family together and had a "painting" party - not with paint, but painting sealer on the grout! At last, it was starting to come together, piece by piece (or tile by tile!).

Tuesday, October 19, 2010

The Drywall Machine

Over the course of this long adventure (buying a house and redoing the kitchen), we've accumulated a lot of tools, big and small. But this one took the cake! Thankfully we don't have to permanently store it (we rented it from Home Depot).

We also got some help from our friends on this project as it takes more than one to operate the machine (and put it together). One was an engineer, so we figured he could put it together. (That was the first challenge - only, of course, because reading directions would be just tooo easy!)

Once we got it together, and figured out where the drywall pieces were going, and cut them to the right size (fyi - this took a lot more time than using the actual machine!), we were finally able to put it to work! And because it's just that cool, I'll let the pictures do (most of) the talking :) .

Lock and load!

Hoist her up and we're ready to go!
Securing the drywall with screws and a power drill
The machine makes holding it up a LOT easier!


Guys and their power drills!
The best part about this (besides seeing the ugly ceiling disappear) was that this was the first reconstruction we did in the kitchen! Yay! Finally, it seemed that we were making (slight) progress on the way to our new kitchen, thanks to the help of several great friends and this cool machine!